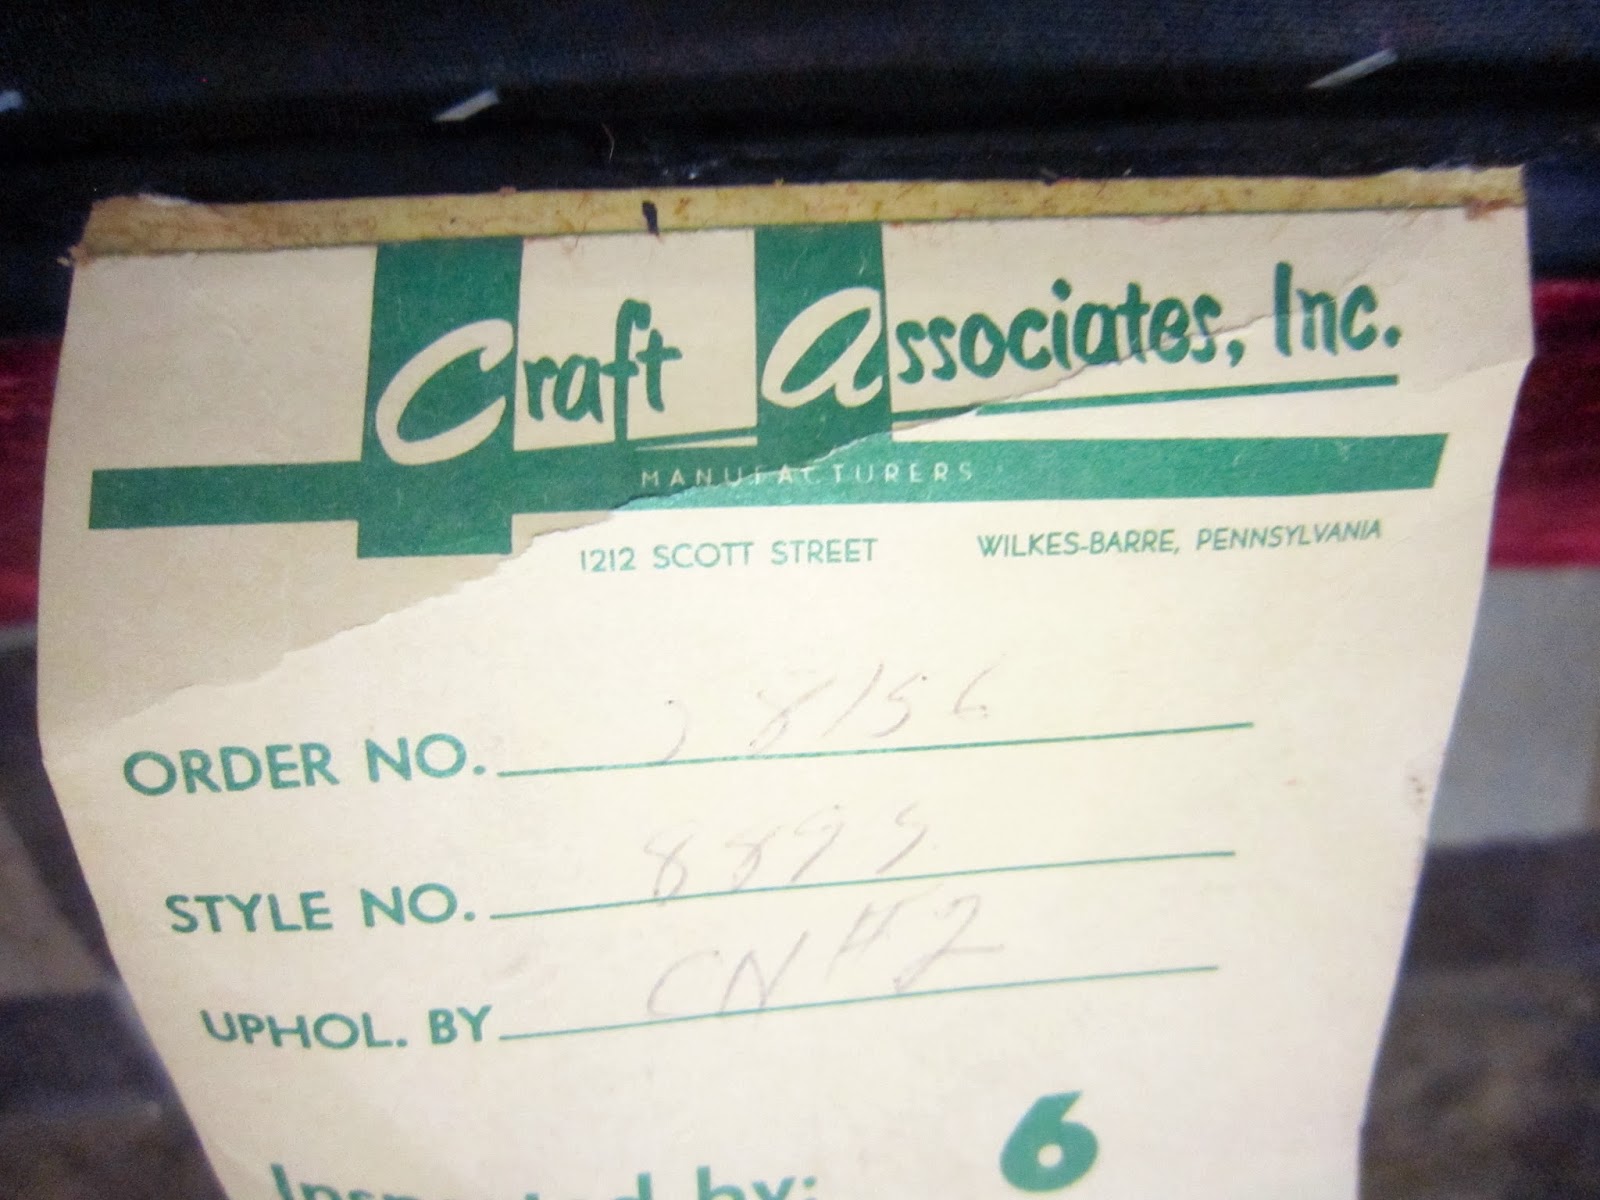
So, aside from the cornpone saying in the title, I will be documenting the reupholstery of a vintage
platform sofa designed by Adrian Pearsall for his company Craft Associates. And although there will
be no near-death experience, there will be plenty of (probably) carcinogenic dust, splinters,
sharp-ended tools, rusty broken staples, and a trip to the urgent care clinic.
oiled walnut base and legs. At a glance it looks great, if you're into funky, flowery red velvet, but a
closer look reveals...
Why is the fabric so loose on that seat you ask? Is that the way its supposed to be? No. The foam
padding along the front of the seat has deteriorated past the point of hardening, and turned to powder.
This is pretty much the standard for most upholstered furniture from the 1950's and '60's, as latex
foam replaced "hog hair" and cotton as commonly used padding. Although most latex foam has held
up for decades, when it goes bad, things get messy. Lets take this thing apart so we can see how bad
it really is!
First we need to get the upholstered seat and back section off the base. It's attached with a number of
screws, and four bolts that fit through the wrought iron frame. once they are separated, we are left
with a more manageable 75" piece. Lets pull staples! If any of you plan to try a DIY upholstery
project, or have tried before and discovered how much this part sucks, go get these tools.
I'm not gonna lie to you, pulling staples still sucks even with the right tools. Just a bit less. The
yellow handled tool provides a sharp end to dig under the staple, and leverage to lift it. Then it's just a
matter of pulling the lifted staple out with the plier/sidecutter. Now we are going to remove the dust
cover (that black meshy fabric on the bottom of most chairs and sofas), and un-stapling the seat and
back fabric from the frames bottom. This usually involves pulling hundreds of staples, but if the old
fabric is thick enough, you may be able to get ahold of an edge and pull the fabric off along with the
staples. Those are good days! We're gonna set down the puller and pliers for now, go put some
bandaids on, and come back later to pull that fabric off and see what's underneath.


Jeff, it's was so nice to see you here this morning!
ReplyDeleteThanks Hannah. I'm surprised you recognized me behind my clever "alias"
DeleteThis will be good to see, as I am about to embark on a sofa reupholster job of my own. I've done chair seats before, so I know how much "fun" it is to pull all those staples!
ReplyDelete