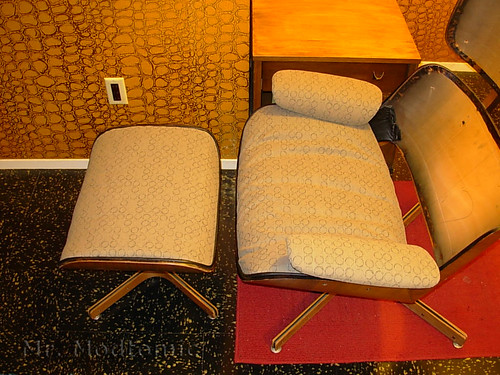
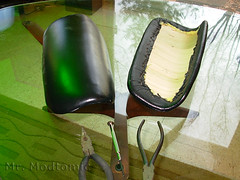
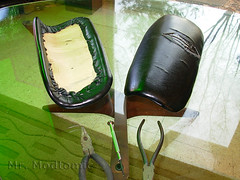
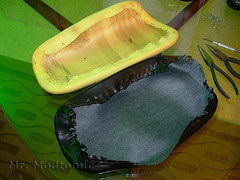
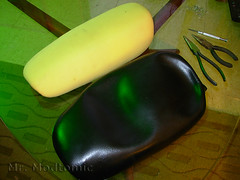
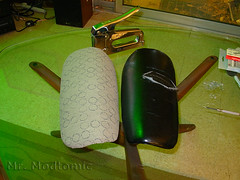
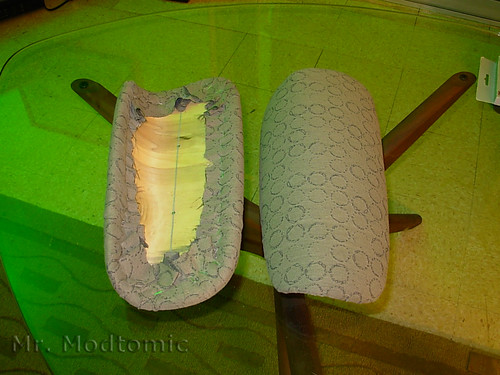
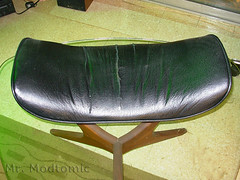
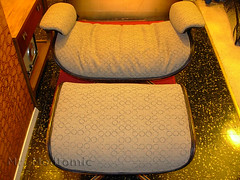
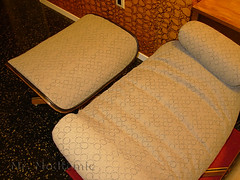
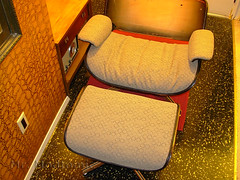
I don't know exactly what came over me this evening but I pulled out the Plycraft Mr. Chair and started in on it again. I made some pretty good progress too. Another couple hours and I'll be sitting pretty...well..let's say sitting Handsomely.
I'm pretty happy with the choice of color and pattern thus far but I must say that perhaps going
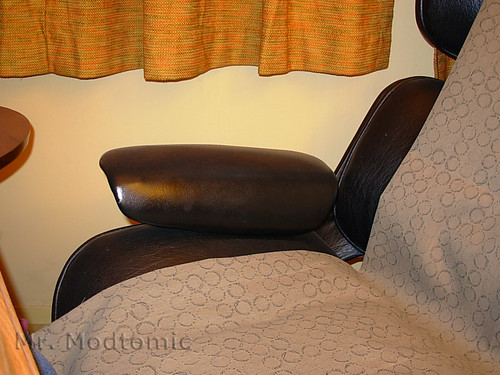
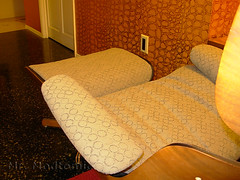
with upholstery fabric may not have been a perfect choice. For one thing, the arm pads will
never look as clean and perfect as they did from the factory when using fabric.
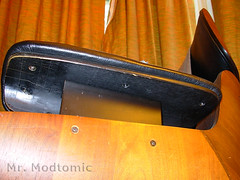
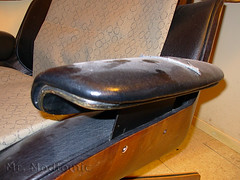
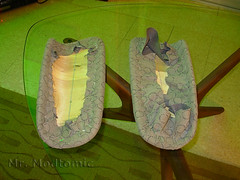
Those armrests were a pain. You see, with vinyl you can heat it up and stretch it around all
those compound curves. With fabric you have to pleat and pile it up as strategically as you
can to get smooth curves but you'll never be able to hide those pleats completely. If I am
wrong about this I encourage anyone who can show me how to do it better to do so! I'd be
happy to be proven wrong.
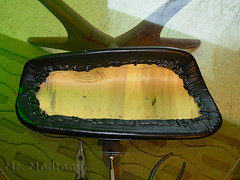
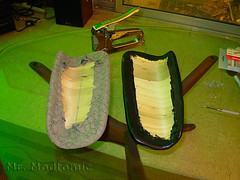
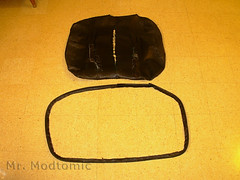
The other big time consuming pain was removing the piping to be reused. It's still less of a
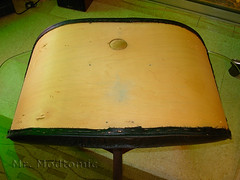
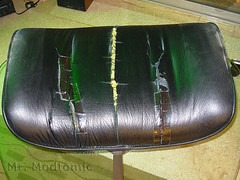
pain than making new piping though. I'm hoping to have the rest of this done (just the back
pad and the headrest pad to do now) done by the weekend. If I do I'll be showing it off
again soon.

I did a vinyl job on a bentwood chair last year. The piping was a bitch, my dad luckily had the skills to make new piping to match. I actually used a hard glue to get it to stay in the routered area of the wood. Its pretty hard to get the piping to fit in after you cram material and staples in there for the surface. Good luck!
ReplyDeleteNice work! Can't wait to see the finished product. I have a Flexsteel chair that is waiting to be covered. Just need to find the perfect (aka cheap and stylish) fabric.
ReplyDeleteSorry for the long comment, but hey, you asked! I've had to recover a lot of odd shaped seat cushions over the years and some have been very challenging. On the staple front I would seriously recommend investing in a tool that I purchased a number of years ago for $15. Berry's staple remover, manufactured in Lubbock Texas. Best 15 bucks I have ever spent and you can lose the scredriver and pliers for the most part. Very fast and efficient. Just don't put your hands in the way of what you're working on as a slip may cost you a trip for stitches. The seat on your chair looks the hardest. If you do another, try pulling the fabric across the width first with only a half dozen staples across the center at either end. Then pull the fabric evenly front to back working the center third or so of each side. This should eliminate some of the center wrinkles. Then start working the remainder pulling the fabric to the outside of the seats. After you have started and centered the fabric you can trim away as much fabric as you don't need to get ahold of for stretching. On outside corners you may need to cut some small V's close to the corners to eliminate clumping and the inside corners you may need to cut a slit (but not too close) to loosen up for forming. Hope this helps! Oh, and a small compressor and pneumatic stapler will make you smile when you realize how much easier and faster it can be. Overall very nice job!!
ReplyDeleteJohnny! - The only area that I might have had that issue (so far) would be the arm rests and thankfully there is / was no piping there. I kinda wish there was as it might hide the bunching that can't be helped.
ReplyDeleteRachael - If you have a Garden Ridge or an Old Time Pottery near you I'd recommend checking them out. I've got yards and yards of cool upholstery fabric and vinyl from them. It's all remnants @ about $5 a yard.
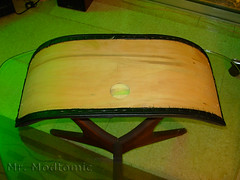
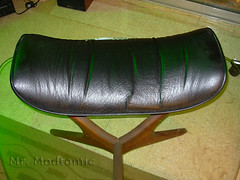
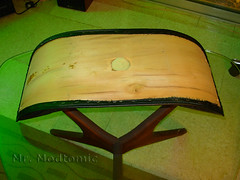
A Mod - Thanks so much for the tips! I'm sure everybody reading this appreciates it when somebody who knows what they are doing is willing to share. I'm not really having to much of an issue with the seat cushion since I have to have a bit of extra material there since the upholstery material does not stretch. I realized this after I finished the ottoman. I was so proudd of how great it looks until I sat on it and realized that with too much force the material might pull right out of the staples on the sides. I might end up doing kt over to provide a little extra material to it too.
You're more than welcome for any help. Just my two cents worth, but it's nice to share with you and your followers. Glad I found your site and I'd be more than happy to offer my somewhat limited wisdom from experience to anyone that's interested. Love the fabric you chose for the chair! I'm supposed to see/hopefully buy a Plycraft this weekend. I'll post some pics if I score!!
ReplyDeletewow! amazing job
ReplyDelete