

I have lived my life very happily so far without EVER having given a "shout out", and I would like
to keep that streak going. However, I would like to thank Mr. M for letting me highjack his blog to
offer a bit of MCM related "how-to". Not shouting out, just giving a appreciative nod. We left off last
time having removed the staples attaching the dust cover, seat, and back from the bottom of the
frame, and this is what we're looking at now.


The condition of the straps supporting the seat is hard to in the
image, but they are starting to dry rot
and we will need to replace
them. You CAN see here that the burlap over the straps is kinda nasty
looking, most likely as the result of some kind of fluid being spilled on the seat and soaking through.
The seat and back of the sofa are actually two separate pieces that are upholstered, and then bolted
together, so we need separate them in order to get all of the old fabric off.


The outside back is stapled to the bottom of the sofa as we've seen, and the sides of the back can be
hand sewn on, or attached using either plygrip, (we'll get into that on a different project) or a slimline
tack strip. The tack strip was used in this case, and pulling it off reveals the series of bolts securing the
back to the seat. After we remove the nuts and washers from the bolts, we can separate the two pieces
and remove the rest of the staples which had been concealed. (Yay! More staple pulling!)


Now that we've got all of the staples out that were holding the fabric on, let's check on the condition
of the back foam. A one inch polyurethane foam was used on the back and despite some
discoloration, it is in good condition. We'll leave it in place, then freshen and reinforce it before
recovering it. The seat foam however…


When we start to pull the fabric off of the front, the aforementioned (probably) carcinogenic yellow
dust that used to be latex foam comes pouring out.

Notice that the foam at the back of the seat is in better condition, with the lighter colored spots
showing less deterioration. It's no coincidence that the three lightest colored spots are where the back
cushions sat on the seat for decades! Alright, lets get this nasty old stuff off and work our magic. First
the foam…


Then the burlap "skin" comes off to reveal the webbing. We'll also be scraping the still-glued foam
off the wood. We could tell from the bottom view of the straps that we were most likely going to be
replacing them, and this view of the top confirms that yes, they're nasty and have to go.

Now that we've got the seat down to the bare frame, we just work our way backwards with new
straps…


…new burlap over the straps…

…then we spray glue the new seat foam to the platform. Most upholstered seats, including cushions,
use 4" foam of varying densities (usually medium to medium-firm), and that is what we're putting on
here.

The sheets of foam that I get from my supplier measure 82" x 24", which is working out perfectly on
this project, as 24" is exactly the depth that's needed, and the platform is 75" long so we only need to
cut 7" off the end of the foam. The last step in re-padding the seat is adding a layer of dacron over the
foam, and stapling it to the frame.
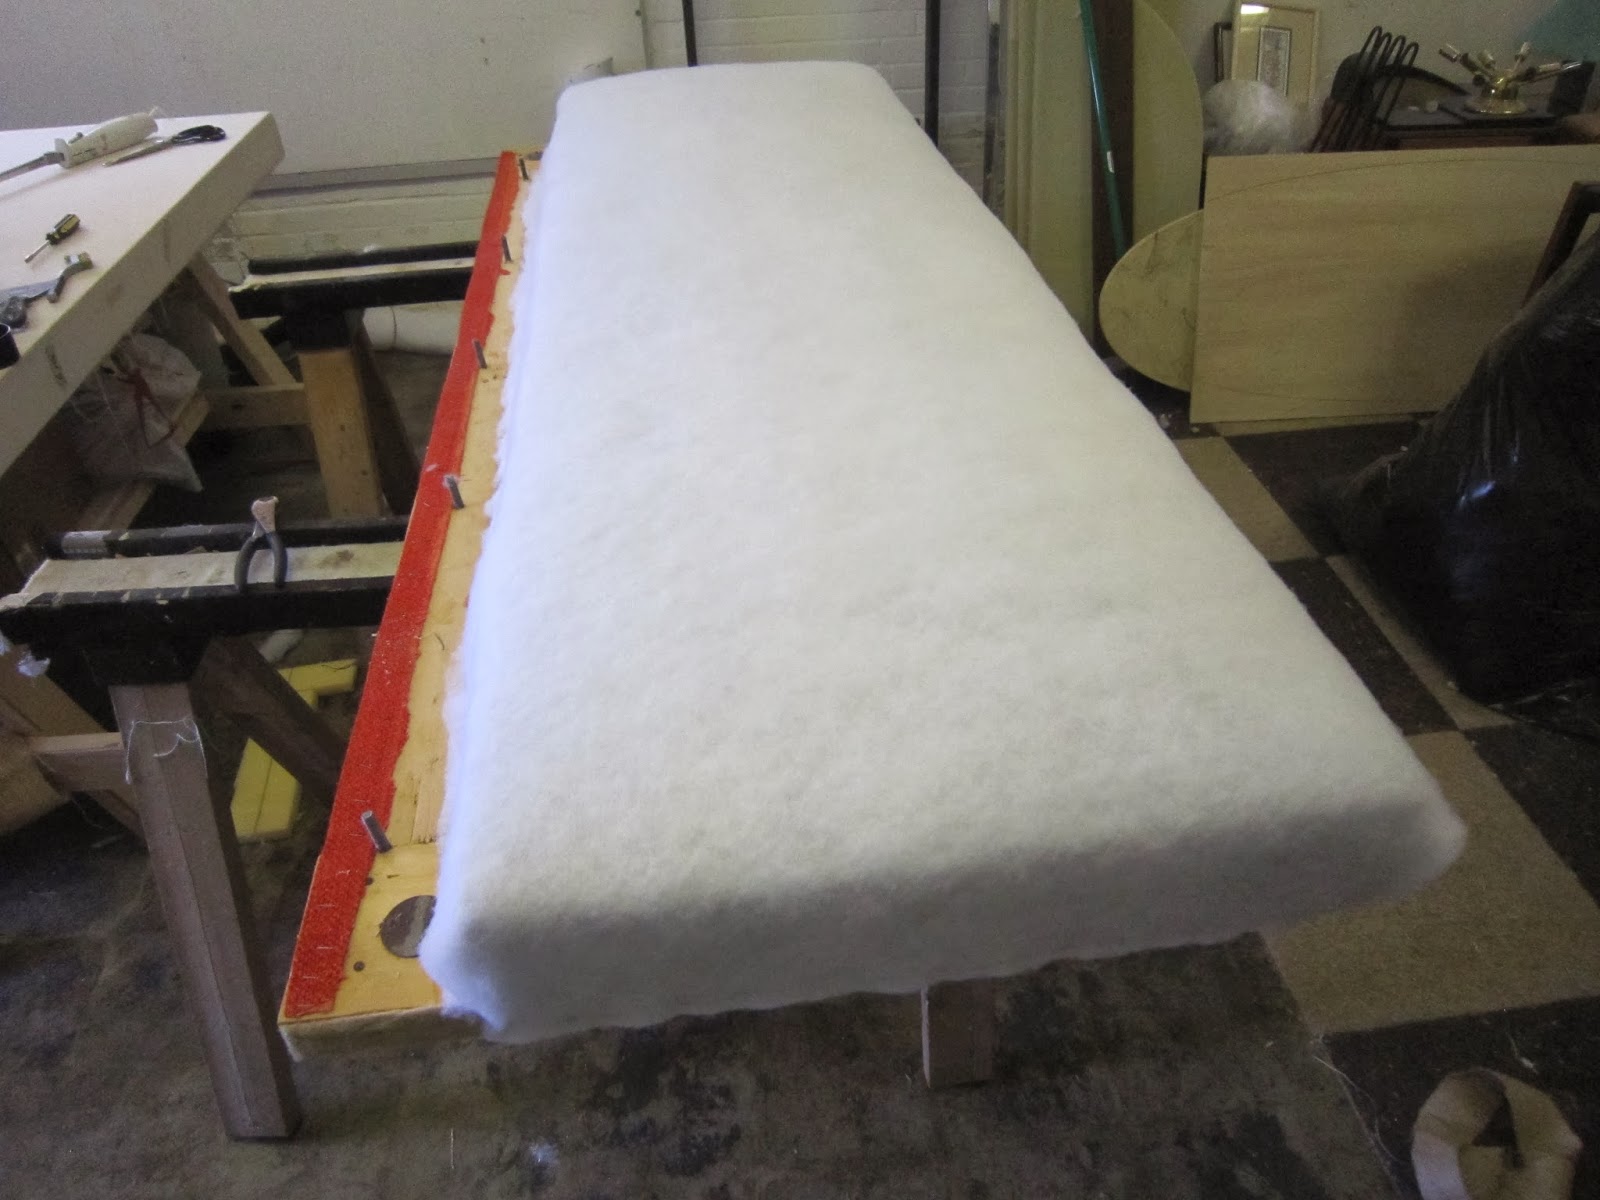
The dacron provides a bit more padding, but more importantly it adds a nice smooth surface, and provides
a buffer that eases the wear of foam on the fabric and vice versa. We've got our seat platform ready
for new fabric now, but we'll tackle that next time, the good lord willin' and the creek don't rise!
Thank you for the time it takes to photograph and post this much-detailed tutorial. The generousness of people amazes me daily. You are the best!
ReplyDeleteI'm glad you have enjoyed. I live to serve.
DeleteLove the tutorial. I have a Steelcase sofa that I am going to reupholster when I get the time and energy. I bought new strapping and the clips that attach to the ends and fit into the frame - my question is: how tight do I pull the straps?? Obviously they are stretchy so I am not sure how 'far' to stretch them and then attach????
ReplyDeleteIf they are rubber straps, only put them on tightly, without stretching them much. If they are elasticized straps like the ones I put back on the Pearsall sofa, they have much more stretch so you'll need to put them on tighter. Can't practically measure the tautness, but across a 20" span you may need to stretch it 2-3".
DeleteThanks so much for the step-by-step progressive photos.
ReplyDeleteAbout to reupholster a Pearsall chair....this is so timely! Thank you!
ReplyDelete