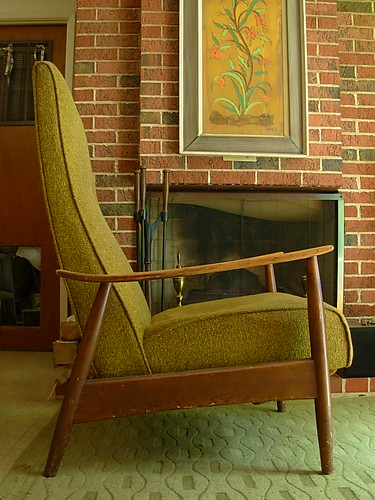
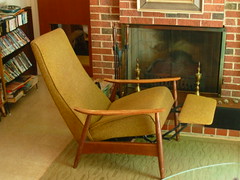
When I first acquired this Baughman recliner I thought that a previous owner had stuck a piece of plywood under the cushion to replace the brocken canvas straps that had replaced the original spring suspension system. Not so. I found that what I felt was a piece of plywood upon sitting on the chair was actually the wooden cross brace of the base! Not good. Time to fix this.
When I purchased this chair I was warned before even getting in the car to come by and look at
it that it had a saggy seat. As Mr. Modtomic gets older he's come to accept that a saggy seat is
totally in his future so I didn't see a problem. I wasn't sure what to expect really but it wasn't bad
at all. Really, not worth mentioning for real.
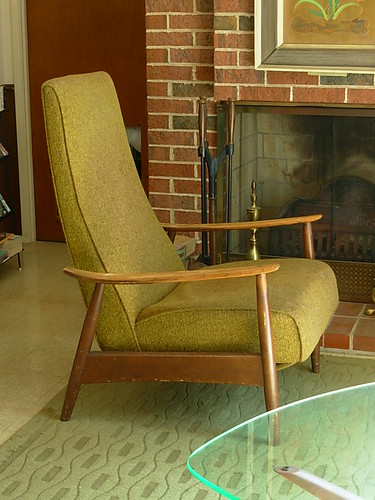
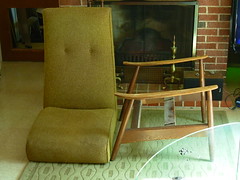
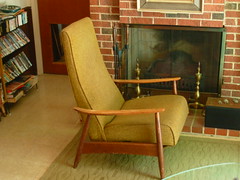
This is what it looked like when I found it in the seller's garage. Not too shabby. Yeah, you can
see the lumpiness in the fabric but when it wasn't being sat in it was easy to just smooth out the
fabric. Nobody was none the wiser. But...when you sat in it, yup...there was the subtle "bump"
of solid wood.
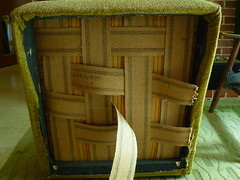
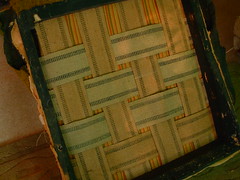
I did a little more exploring under the seat and realized that three of the four lateral suspension
straps were broken. Hmmm...doesn't look like that big a deal to fix this. Couple hours and a
staple gun, right?
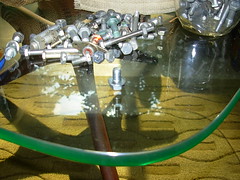
While we were at the estate sale Saturday morning I decided to pick up some spare random
hardware. The basement was full of tools and the ephemera of a REAL handyman! I'm always
looking for the right nut or bolt to fix something or another so when I spotted jar after gleaming
jar of the things I just grabbed up the two that looked most promising. I turned to pry myself out
of the closet where this stuff was an noticed the canvas strapping! I wasn't sure what I needed
it for but I figured I'd find a need for it. Then Sunday afternoon I remembered the Baughman
recliner! So out came the tools and off came the base.
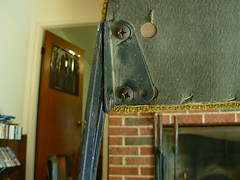
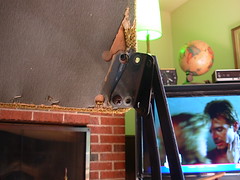
That's when I noticed that the footrest wasn't properly attached to the reclining mechanism. A
screw was missing on the operators left side. Since I was removing the entire mechanism as a
whole, I wanted to properly fit the footrest and replace the missing screw. Remember the jar of
screws? Viola! There was a perfect fit in the jar. Like it was all predestined.
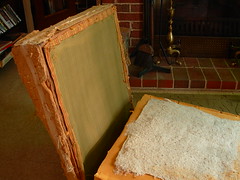
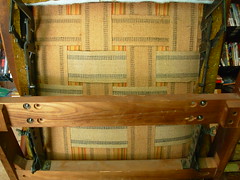
Ah...with the mechanics out of the way we can now see what we're up against. Still looks like a
piece of cake. Just pry out the staples, peel back the upholstery, pull off the pad...uh, pry up
some more staples.....remove the old straps...uhm, cut new straps...this is getting kinda long
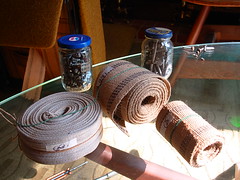
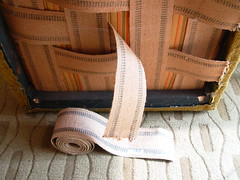
huh? Still, couldn't take too long, right? Here you can see a roll of the canvas strap that I
bought at the estate sale. How perfectly matched is that? Serendipity in action.
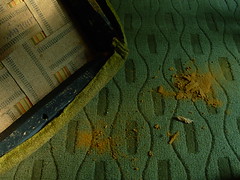
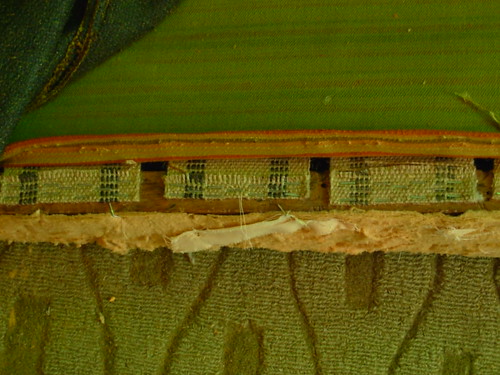
I pulled all the staples I needed to peel back the upholstery and the dreaded yellow dust
started pouring out. ::sigh:: I was hoping at this point that it was just the batting that had
disintegrated. As I pulled back the upholstery I found this to be the case. Yippy! I was not
looking forward to having to cut and shape a foam pad, too. But yes, what had been the actual
padding (there were marks from the original springs on the bottom of it) was being used as
batting now...and it was turning to dust. It was also torn loose from its moorings. It had to go. No
problem, I got some batting around here somewhere. Mr. Modtomic comes prepared.
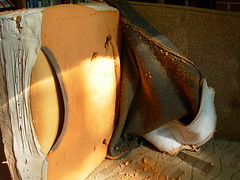
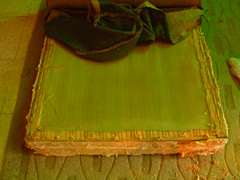
Here I've got the cushion loose and you can see there is a cover stapled down over the top of
the straps. More damn staples. I've gotten pretty good at removing staples now. I pulled up the
outside edges of the cover to gain access to the lateral straps attachment points where I
removed more staples to detach the straps.
After considerable time and effort I was able to remove and replace the three broken straps
and staple the cover material back down. I think I've used my staple gun more than any other
tool in my box for fixin' up furniture. Plus, I gotta go get some more staples. I've about run out!
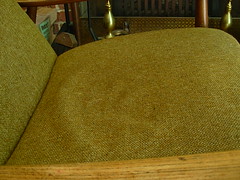
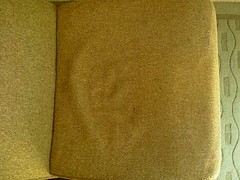
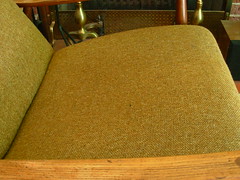
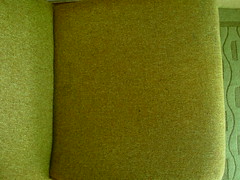
After replacing the padding and batting it was a simple matter of stretching the upholstery back
over the seat and popping in another 50 or so staples. Now that the suspension system is
shored up properly and new batting has been placed the upholstery doesn't bunch up like it
did before. Looks so much better don't you think?
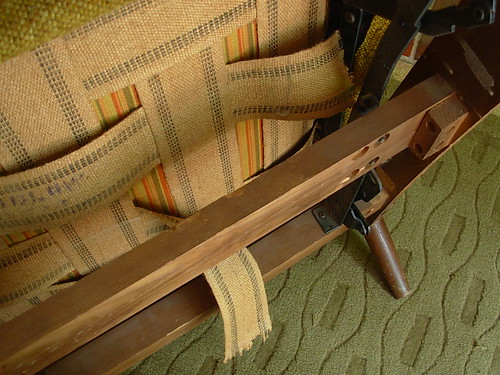
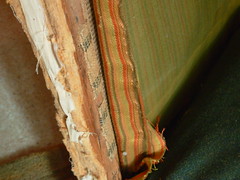
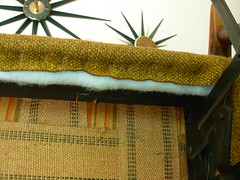
Here's the bottom view. The "old" straps seemed plenty strong. Anyway, the "new" strap
material is probably as old as the "old" strap, so why bother replacing it. You can see the new
batting poking out from under the upholstery material. I reinstalled the mechanics and the base
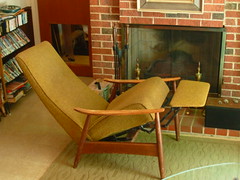
and the Baughman recliner is now a much more usable chair.
Next up for the Baughman? The base will come back off for a refinish. As is, it looks like
someone started sanding the armrests as they have almost no finish on them at all. The rest of
the base has plenty of bumps and bruises that need to be addressed. I don't think that the
Minwax refinisher will do the trick this time. I think this is going to have to be a strip and stain
job. Stay tuned!

Great job and I admire how you didn't have to run to the hardware store at every stage!
ReplyDeleteGood job! You'll have it completely restored in no time. Can't wait to see it when it's done.
ReplyDeleteWow! your Milo Baughman chair looks pretty sweet now! good thing you fixed it up to a workable condition! I currently moved my Milo Baughman chair minto my new apartment about a week ago and I'll be starting back up my blog so I can show what my apartment looks like. I love the new place where i put my Milo Baughman chair! What a brilliantly designed chair!
ReplyDeleteVery nice! I am even more impressed by the salvaging of supplies from estate sales, than the repair itself.
ReplyDeletegreat job with the restoration...:)...where can i get webbing like that dont want tobuy plastic ones!!
ReplyDeleteGreat job on the chair! I purchased one of these recently for $75 and I am about to restore it. Any ideas where I can pick up some of the canvas strap?
ReplyDeleteMr. Modtomic —
ReplyDeleteMy husband and I just bought a Milo Baughman recliner on Ebay and had it shipped to TN (at great expense). The chair looks just like yours (but in brown fabric). Our problem is that leg shelf does not fold under all the way — the mechanism seems out of whack and a bit shaky. Can you help us?
Cindy and Mike in TN
Hi Cindy and Mike.
DeleteI'm not sure how much help I can be from so far away but if be happy to try. Send me an e-mail to the address you see at the upper right on this page.
Mr. M
Is it comfortable?
ReplyDeleteHi Anonymous.
DeleteAbsolutely! I took many naps in front of the TV in this chair before it found a new home. Highly recommended.
Hi,
ReplyDeleteI just found one of these chairs in pretty good shape but it is missing the footrest. Any ideas on how to source another footrest to replace it?
I was gifted this chair, but the foot rest is some kind of horrid pleather material. Does yours match the fabric of the main chair?
ReplyDeleteThe black pleather footrest is original in many of these chairs...embrace the pleather!
Deletehi,
ReplyDeleteAnybody know the recliner mechanism (code product). Where is to buy? thx
Contact Ultra Mek for a cost quote on a replacement mechanism for your Milo Baughman recliner.
ReplyDeleteThe phone number is 336-859-4552.